This Christmas dinner is nothing short of a decadent, indulgent, rich feast. It incorporates so many wonderful food elements of the holiday season that just reading the menu makes one's mouth water. This meal is actually much easier to prepare and serve than it looks. You simply need to be prepared and think through the meal beforehand. I made and served this meal without help, so it can be done, and still had enough energy for church and presents and all that good stuff. Also, the first two courses are the only courses requiring much work. You see, aside from the spicy dates, the starters simply require being arranged on a platter. The same goes for the cheeses and the desserts. Because there are so many courses, you will want to offer small portions.
Below is the menu of what we had and the recipes for the soup and the veal. The recipe for the salad is already on this blog. I always order my buche de Noel, when in Chicago, from Bittersweet Bakery. They make a beautiful, generous buches de Noel and also stunning croquembouches.
Starters:
Pate de Foie Gras Truffe
Toast Points
Cornichons
Rolled Prosciutto
Dalmatia Fig Spread
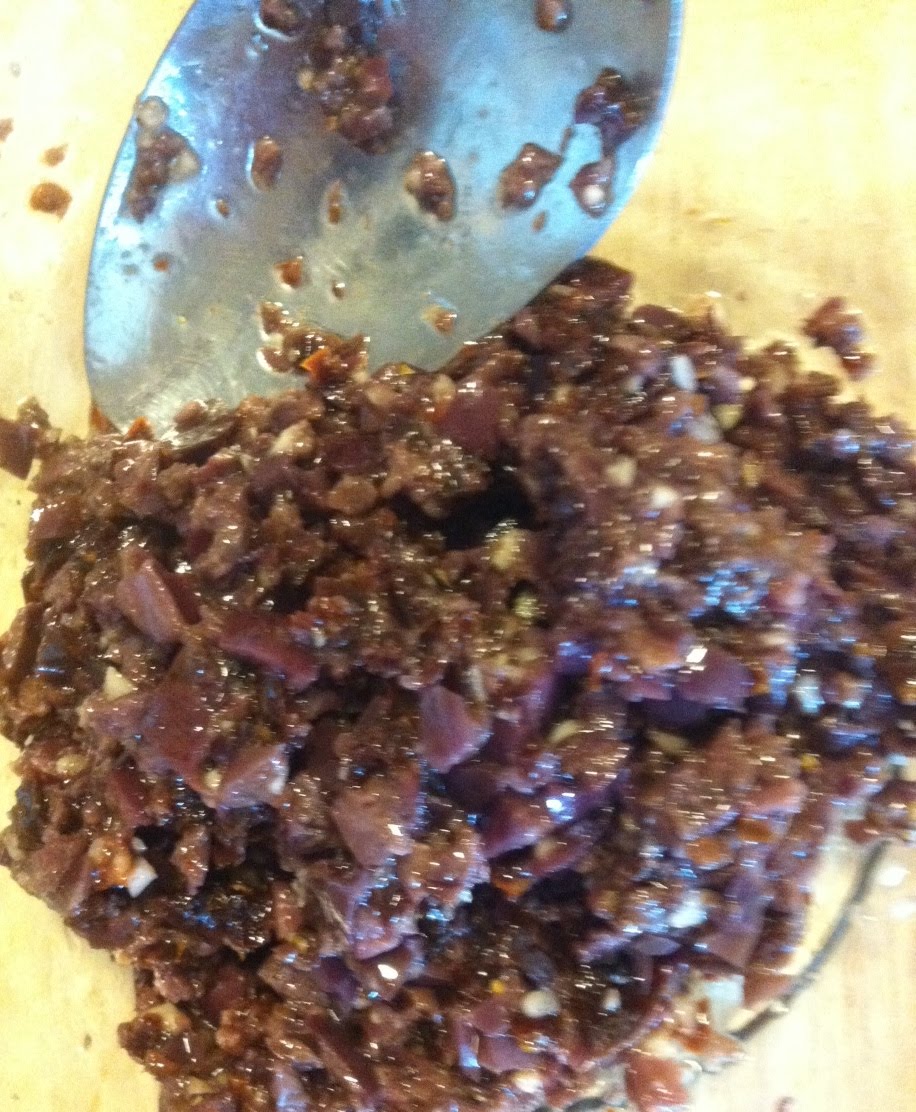
Spicy Sauteed Dates
Soup Course:
Perigord Black Winter Truffle Soup
Plat Principal:
Rolled Veal Tenderloin with Morel Mousse
Carrots Vichy
Rosemary Roasted Potatoes
Salad Course:
Herb Salad
Cheese Course:
Selection of three goat, sheep and cow's milk cheeses
Dessert:
Buche de Noel
Petit Fours
Coffee
Perigord Winter Truffle Soup

This recipe, and the recipe for the veal, are adapted from Cooking for Madam.
Multiply this recipe as needed.
CHICKEN
5 ounces raw chicken breast meat
1 cup homemade chicken stock
Poach the chicken breast in the stock for 10 minutes. Let rest for a few minutes then cut into 1/4" dice.
MIREPOIX
1 teaspoon olive oil
5 Tablespoons freshly peeled, minced carrots
2 Tablespoons freshly minced celery
6 Tablespoons freshly minced mushrooms, any kind
Kosher salt and freshly ground pepper
Thyme flowers
Coat the inside of a small saucepan with the olive oil and heat it. Add the diced carrots and cook, covered, over medium heat for 3 minutes then add the diced celery. Cook for 3 minutes then add the mushrooms and cook 3 minutes. The vegetables should cook 9 minutes in all, covered. The idea is to have the vegetables give up their juices, not to brown. Add the salt and pepper and a pinch of thyme flowers.
SOUP AND SERVING
1 fresh Perigord Black Truffle (available at fine food stores such as Fox & Obel)
3 cups chicken stock
few drops of truffle oil
Using a truffle shaver, slice the whole truffle very thin. In a small saucepan, heat the stock, truffles and truffle oil over a low heat.
4 sheets phyllo pastry, or puff pastry
4 Tablespoons butter, melted
1 egg yolk, beaten
While the vegetables are cooking heat the oven to 450F. Lay out one of the layers of pastry on a counter top. Use a pastry brush to paint it with melted butter. Fold the pastry in half and paint again, then do it one more time. Use a tureen as a pattern, and cut a circle of pastry an inch bigger than the opening. Repeat with the other three pieces of pastry.
Place a spoonful of the mirepoix vegetables in the bottom of each tureen and a quarter of the chicken breast meat. Add 3/4 cup of stock (divide the truffles evenly among the tureens). Brush the rims of the pastry circles with the beaten egg yolk and press the pastry, yolk side down, over the tops of the tureens, using the egg to seal the edges tightly.
Set the tureens on a jelly roll sheet and place them in the over. They will cook very fast. The pastry will expand and turn golden and when that happens, they're done. The aroma when you first break through the crust is amazing!
Rolled Veal Tenderloin with Morel Mousse

You will need to find a good butcher in order to find a veal tenderloin. They are not common at grocery stores. Whole Foods said they couldn't even order them. However, Paulina Meat Market did have them and they were perfect. For this recipe, the tenderloin needs to be butterflied. Unless you are especially skilled with meat this should be done by the butcher. Just explain what you are doing with the tenderloin and for the veal to be butterflied. A good butcher will know what to do.
MOREL MOUSSE
10 ounces ground veal, preferably tenderloin
1 shallot, finely chopped
6 dried morels, soaked, lightly rinsed and patted dry
1/2 tsp kosher salt
1/4 tsp freshly ground white pepper
1 egg white
1/4 cup heavy cream
Place the veal, shallot and morels in the bowl of a food processor and pulse a few times to blend. Add salt and pepper then the egg white and cream and pulse until the mixture is smooth. You want it really moussey. Transfer to a bowl, cover and refrigerate until you need it.
LOIN OF VEAL
2 pound eye of veal loin, completely trimmed and butterflied
1 teaspoon kosher salt
1/2 teaspoon white pepper
10-15 large spinach leaves, washed and dried
1/2 cup coarsely chopped small white turnps
1/2 cup coarsely chopped onions
1/2 cup coarsely chopped carrots
2 cloves garlic, crushed
SAUCE
1 ounce dried morels, soaked in hot water, overnight
1 cup dry white wine
1 1/2 cups homemade veal or chicken stock
1 teaspoon butter
2 shallots, minced
1 cup heavy cream
Preheat 450F. Open the veal out flat on the counter and season the inside with kosher salt and pepper. Lay large spinach leaves down the natural crease along the center of the veal. Spread the mousse over the spinach, making sure that the mousse covers only the middle section of the loin. Cover the mousse with the remaining spinach so it is completely encased in spinach. Roll the loin up carefully so the mousse stays in place, then tie kitchen string around the roll every couple inches.
Place the turnips, onions, carrots and garlic in a roasting pan with the rolled loin on top. Roast for 20 minutes then lower the heat to 375F and roast another 15 - 25 minutes, or til mousse is set.
While the meat is roasting, drain the morels through a double layer of cheesecloth. Save the liquid they were soaking in. Wash the mushrooms well and set them aside. Remove the meat from the oven and keep it warm on a covered platter. Leave the vegetables in the roasting pan. Put the roasting pan with the vegetables still in it over a burner. Pour in the white wine and use a wooden spoon to scrape up all the little bits stuck to the bottom of the pan. Scrape the contents of the pan in a saucepan - with the cooked vegetables, too. Add 1 1/2 cups of the stock and the reserved morel soaking water. If that is skimpy, add more stock. Cook over high heat until the liquid is reduced to about 1 1/4 cups. Strain it through a fine seive, discard the vegetables and set the sauce aside. Melt the butter in a heavy saucepan and lightly saute the shallots. Add the morels and the cream, stirring over low heat until thickened. Stir constantly to keep the mixture smooth, as you slowly add the sauce base. Serve immediately with the sliced veal. Serves 8.
The cheese course looked like this...

The buche de Noel looked like this...

The drinks looked like this...

Here is the Christmas tree before dinner and the opening of presents...

Now, onward to 2012!